Introduction
Hey there. If you’ve landed here, chances are you’re a business owner or creative entrepreneur wanting to customize your Showit website template to match your brand and vision. The good news? Showit is incredibly user-friendly, even for non-designers. The challenge? How to customize new Showit template without accidentally breaking the design.
Don’t worry. With the right approach, you can create a stunning website that looks like it was built by a professional designer, even if you’re a DIYer. This post will walk you through everything you need to know about how to make changes in your Showit template without breaking it.
Save this for later
1. Start With a Clear Vision for Your Brand
Before diving into customizing your Showit template, you need to have a crystal-clear understanding of your brand. Your website should reflect your business’s personality, values, and unique style. Take time to define your brand colors, fonts, and imagery before making any changes to your template.
Having a clear vision ensures consistency throughout your site and avoids the temptation to make changes that could dilute your brand’s identity. Look at your existing branding materials like logos, social media graphics, or print materials. Are they cohesive? If not, take some time to standardize your branding elements before customizing your site.
- Brainstorm your brand personality: Is it playful, elegant, bold, or minimal?
- Create a mood board using tools like Pinterest or Canva to visualize your brand.
- Finalize your brand colors (typically 3-5 core colors). I use Coolor.co to check the colors.
- Choose 2-3 fonts: a primary font for headings, a secondary font for body text, and maybe an accent font.
- Gather brand imagery that aligns with your style, such as professional photos or curated stock images.
Pro Tip: Use a brand style guide to keep track of your color codes, font names, and design elements. This will save you time and ensure consistency across your website.
Want easy, practical content tips to grow your business? Join my weekly email list for Canva tricks, new social media updates, and simple strategies that actually work.
2. Understand the Basics of Showit’s Drag-and-Drop Editor
Showit’s drag-and-drop interface is one of its biggest selling points, but if you’re new to the platform, it’s worth taking a little time to understand how it works. Unlike other website builders, Showit lets you design with complete creative freedom. However, with great freedom comes great responsibility, so you’ll need to be mindful of how changes affect the overall design.
Spend time exploring the Showit dashboard before making major edits. Familiarize yourself with the canvas system, mobile and desktop views, and the toolbar options. Pay attention to how the template is set up. Understanding these basics will make customization much easier and less intimidating.
- Explore the different canvases within your template (canvases are sections of your website).
- Learn how to toggle between desktop and mobile views to ensure your site is responsive.
- Get comfortable with the toolbar options like resizing, grouping, and layering elements.
- Practice using the undo button to quickly revert changes if something goes wrong.
- Watch Showit’s tutorial videos or attend a free webinar to get hands-on tips.
Pro Tip: Duplicate your template before making any changes. This way, you’ll have a backup copy to fall back on if something doesn’t go as planned.
3. Stick to the Original Grid and Layout
One of the easiest ways to “break” a Showit template is by moving elements out of alignment or making drastic layout changes. Templates are designed with a specific grid and spacing to ensure everything looks balanced and professional. When you start moving things around without a plan, you risk disrupting the design’s flow.
Instead of re-inventing the wheel, try to work within the existing layout as much as possible. You can customize colors, fonts, images, and text while keeping the original structure intact. This approach allows you to personalize your website without compromising the design integrity.
- Keep text boxes and images aligned with the gridlines.
- Avoid drastically resizing elements unless necessary.
- Use the “snap to grid” feature to maintain alignment.
- Stick to consistent spacing between sections for a clean look.
- Make small changes incrementally rather than all at once.
Pro Tip: Use the “Preview” button frequently to see how your site looks in real-time. This helps you catch alignment issues before publishing. And the UNDO button to remove changes that don’t align in real time.
4. Customize Fonts and Colors Thoughtfully
Fonts and colors are two of the most impactful elements of your website design. They set the tone for your brand and help communicate your message effectively. While Showit templates come with pre-set fonts and color schemes, you’ll want to update them to match your branding.
When selecting fonts, prioritize readability over fancy designs. Pair contrasting fonts for headings and body text to create visual interest. For colors, choose a palette that complements your brand identity without overwhelming visitors. Use accent colors sparingly to draw attention to specific elements like buttons or calls to action.
- Update fonts in the “Design Settings” to ensure consistency across your site.
- Test different font sizes to find a balance between aesthetics and readability.
- Stick to a color palette of 3-5 hues for a cohesive look.
- Use the same color for headings, buttons, and links to create a unified theme.
- Test your color choices on both desktop and mobile views to ensure visibility.
Pro Tip: Use a contrast checker tool to ensure your text is easy to read against your chosen background colors. Accessibility is key!
Pin this on your boards
5. Replace Demo Content With Your Own Copy and Images
Showit templates often come with placeholder text and stock images that look amazing but aren’t tailored to your business. Replacing demo content with your own copy and visuals is a crucial step in making the template your own.
When updating the copy, focus on speaking directly to your target audience. Use long-tail SEO keywords naturally in your text to improve search engine visibility. For images, choose high-quality photos that align with your brand’s style. If you don’t have professional photos, invest in premium stock photography that complements your aesthetic.
- Write copy that reflects your brand voice and speaks to your ideal client.
- Use descriptive headlines and subheadings with relevant keywords.
- Optimize images by resizing them for web use to avoid slow loading times.
- Replace stock images with professional photos or curated stock images.
- Test all text and image changes on mobile to ensure they look good.
Pro Tip: Use free tools like Grammarly to proofread your copy and Canva to edit your images before uploading them to your site.
6. Ensure Mobile Optimization
Did you know that over half of website traffic comes from mobile devices? Showit makes it easy to create a mobile-friendly site, but you’ll need to put in some effort to ensure your design looks great on smaller screens. The mobile editor in Showit lets you customize the mobile view separately from the desktop view.
Don’t just assume your desktop design will translate perfectly to mobile. Always preview and adjust each section to make sure it’s responsive. Pay close attention to text alignment, button sizes, and image scaling. A well-optimized mobile site not only improves user experience but can also boost your search engine rankings.
- Use the mobile editor to adjust spacing and alignment for smaller screens.
- Ensure buttons are large enough to tap easily on mobile devices.
- Optimize text size for readability without excessive zooming.
- Test all interactive elements like forms and menus on mobile.
- Preview your site on various devices to spot inconsistencies.
Pro Tip: Google offers a free Page Speed Insight tool to check your site’s responsiveness. Use it to identify and fix any issues.
7. Integrate SEO Best Practices
A beautiful website won’t help your business if no one can find it online. That’s where search engine optimization (SEO) comes in. Showit offers built-in SEO tools, making it easy to optimize your site for search engines without needing technical expertise.
Start by updating your page titles, meta descriptions, and image alt text with relevant keywords. Structure your site with clear headings (H1, H2, H3) to make it easier for search engines to understand your content. Regularly update your blog (if applicable) with keyword-rich articles to drive organic traffic to your site.
- Use long-tail keywords naturally throughout your site.
- Optimize page titles and meta descriptions for each page.
- Add alt text to all images to improve accessibility and SEO.
- Structure your headings hierarchically for better readability.
- Monitor your website’s performance using tools like Google Analytics.
Pro Tip: Use an SEO keyword research tool like Ubersuggest or SEMrush to find high-traffic keywords related to your niche.
8. Test Everything Before Publishing
Once you’ve made all your customizations, it’s time to thoroughly test your website. This step is crucial to ensure that everything looks and functions as intended. Check for broken links, alignment issues, and slow-loading pages. Don’t forget to test interactive elements like contact forms and buttons.
Preview your site on different devices and browsers to spot any inconsistencies. Ask a friend or colleague to review your site and provide feedback. Sometimes a fresh pair of eyes can catch things you might have missed.
- Test all links to ensure they direct to the correct pages.
- Check for spelling and grammatical errors across your site.
- Verify that images load quickly and aren’t pixelated.
- Ensure all buttons and forms are functional.
- Preview your site on Chrome, Safari, and Firefox, as well as on desktop, tablet, and mobile.
Pro Tip: Publish your site during non-peak hours to minimize disruptions if any last-minute tweaks are needed.
Wrapping It Up
By following these steps, you’ll be able to customize your Showit template without breaking the design. Remember, the key is to approach the process with patience and a clear vision. With a little effort, you’ll create a stunning, professional website that perfectly represents your brand and attracts your ideal audience.
Need Help Customizing Your Showit Template?
Once you’ve found the perfect Showit template, the next step is making it uniquely yours—and that’s where I come in! I offer professional Showit template customization services to help bring your vision to life. Whether it’s tweaking the design, aligning the colors and fonts with your brand, adding personalized content, or creating a seamless user experience, I handle it all so you can focus on what you do best. Think of it as having a personal website designer by your side, turning a pre-made template into a one-of-a-kind digital masterpiece that perfectly represents your business.
With my services, you’ll get:
- A fully customized Showit template tailored to your brand
- Hassle-free integration of your content, photos, and branding elements
- Expert advice on layouts, features, and functionality
- A finished website that’s polished, professional, and ready to launch
Pro Tip: Customizing your template with a professional touch not only saves you time but also ensures your website leaves a lasting impression on your audience. Let’s work together to create a site you’ll love to show off!
Loved This Post? Save It for Later!
And hey—if this post helped you, don’t forget to pin it to one of your boards so you can revisit it anytime. And more small business owners and creators can discover these helpful tips. Every save and share genuinely supports my work, and I’m grateful for it! Thank you!
WANT TO MASTER CANVA LIKE A PRO?
If you’re ready to move beyond basic designs and unlock Canva’s most powerful features, my book Canva – Beyond the Basics is for you.
Learn advanced workflows, time-saving hacks, and features like brand templates that busy entrepreneurs need to create professional content faster. It’s designed for anyone who wants to work smarter, not harder.
TEMPLATES FOR ENTREPRENEURS
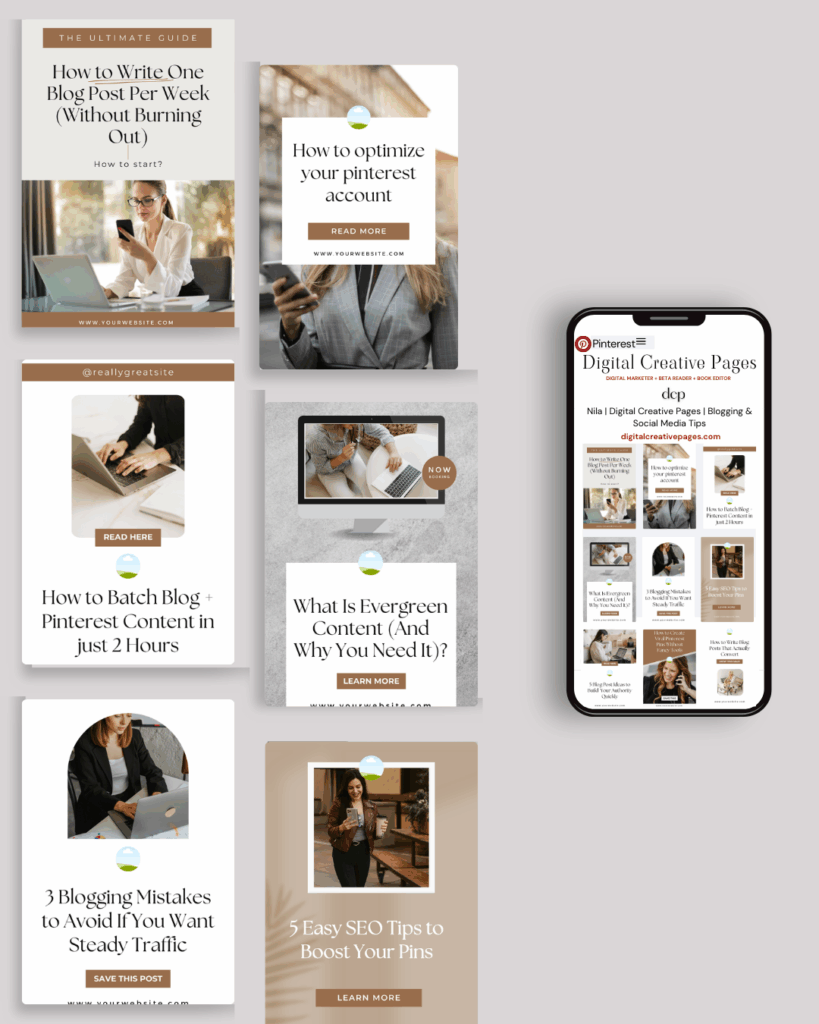
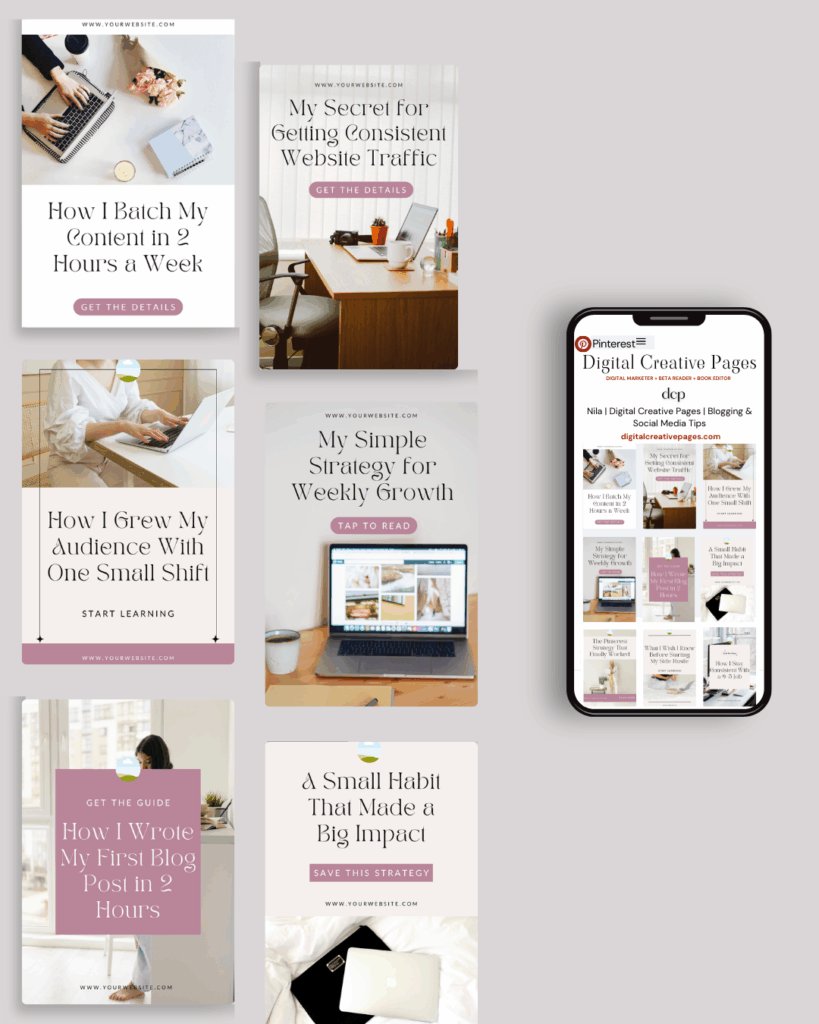
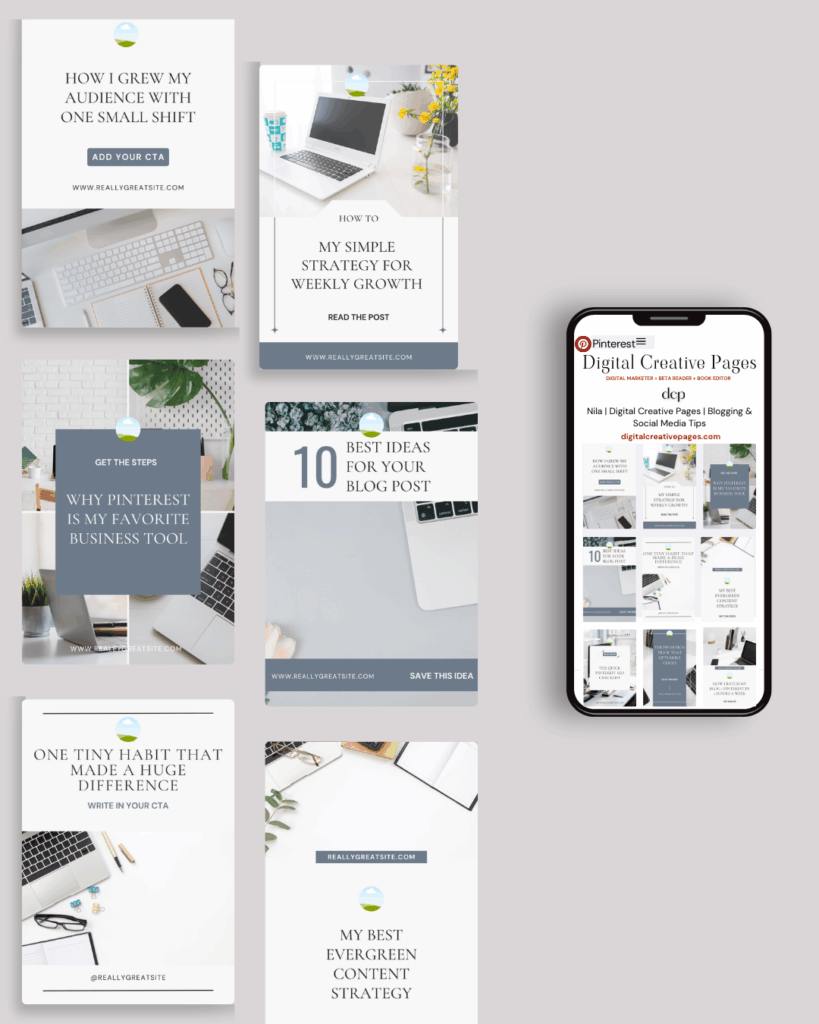
No time to design from scratch? My Pinterest Templates are created with strategy, structure, and your brand in mind.
Pick your style: Modern Minimalist | Soft Storytelling | Entrepreneur-Friendly Layouts
Get them here → DCP Shop
MY TOP POSTS
My INTRODUCER post – check out why I chose Showit as my website builder here
Use my affiliate code DCP to get one 1.5 months free on Showit
Get all the resources for your social media and digital marketing without breaking the bank from my DCP Shop here
By signing up for my freebies, you are agreeing that I can use your email address to market to you. You can unsubscribe from marketing emails at any time by using the link in my emails.
Previous post
next post
Search + Enter

meet nila

Hi. I am
Nila
Beta reader, book editor, Pinterest manager, Showit VA
I’m a beta reader and book editor and PA for authors, specializing in story clarity and developmental feedback. I run a sustainable online business that keeps working for me 24/7.
Along with this, I offer Pinterest management for overwhelmed creatives and entrepreneurs and set up and customize Showit templates when the tech side gets too overwhelming.
")
My Shop
Buy now
i need it
")
Free Stuff
get the goods
check it out
")
My Favorites
apps + Tools
Yes, please
 (1)")

 (1)")
